Revive Your Hardwood Floors with Floor Sanding: The Ultimate Guide to Bringing Your Floors Back to Life
Hardwood floors are a beautiful and timeless addition to any home. They add warmth, character, and value to your property. But over time, even the most durable hardwood floors can begin to show signs of wear and tear. Scratches, scuffs, and dullness can make your floors look tired and lifeless. Fortunately, there's a solution: floor sanding. In this ultimate guide, we'll take you through the steps of reviving your hardwood floors with floor sanding
Step 1: Evaluate Your Floors
Before you start sanding, you need to evaluate the condition of your floors. Look for any large gaps, cupping, or warping. If you notice any of these issues, you may need to address them before sanding. It's important to make sure your floors are structurally sound before proceeding.
Step 2: Prepare Your Room
Sanding hardwood floors can create a lot of dust, so it's important to prepare your room before you start. Remove all furniture and cover any vents, doorways, and windows with plastic sheeting. You should also wear a dust mask and eye protection to protect yourself from the dust.
Step 3: Start Sanding
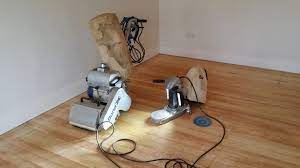
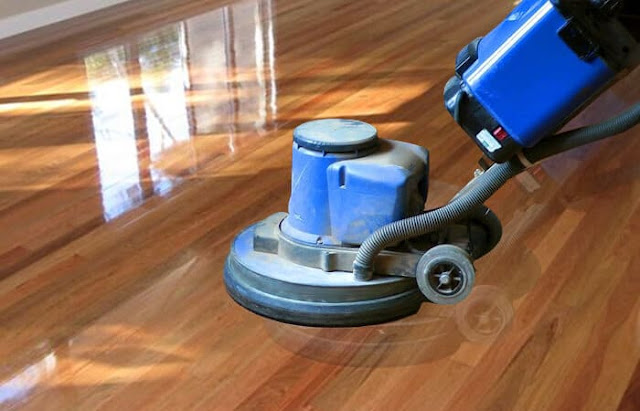
Begin with a coarse grit sandpaper to remove the top layer of the floor finish and any scratches or stains. Use a drum sander to cover the main area of your floor, starting from one corner and moving in a straight line. Work slowly and methodically, making sure to move the sander in the direction of the grain. Then use an edge sander to get to the corners and edges that the drum sander can't reach. Repeat the process with finer grits of sandpaper until you achieve a smooth and even surface.
Step 4: Clean Up
Once you've finished sanding, it's important to clean up thoroughly. Use a vacuum and a tack cloth to remove all dust from the floor, walls, and ceiling. You don't want any dust particles to settle back onto your newly sanded floors.
Step 5: Stain and Finish
Now that your floors are smooth and clean, it's time to stain and finish them. Choose a stain that matches your desired color and apply it evenly with a brush or a roller. Then apply a coat of polyurethane finish to protect the wood and give it a beautiful sheen. Wait for each coat to dry before applying the next, and make sure to sand lightly between coats for a smooth finish.
Step 6: Enjoy Your New Floors
Once the final coat of finish has dried, your hardwood floors will look as good as new! You can now move your furniture back in and enjoy your revived floors. Remember to take good care of your floors by regularly cleaning and maintaining them to keep them looking their best.
In conclusion, floor sanding is an effective way to revive your hardwood flooring and bring them back to life. With some preparation and careful attention to detail, you can achieve a beautiful and long-lasting finish that will add value and beauty to your home for years to come.


Comments
Post a Comment